[ad_1]
Introduction to Ooni Pizza Dough
Creating the perfect pizza starts with mastering the dough, and when it comes to outdoor cooking, Ooni has set the standard for portable pizza ovens. Whether you’re a seasoned chef or a novice, making Ooni pizza dough is a rewarding experience that sets the foundation for delicious homemade pizzas. In this guide, we will walk you through the essential steps to create the ideal Ooni pizza dough.
Ingredients You Will Need
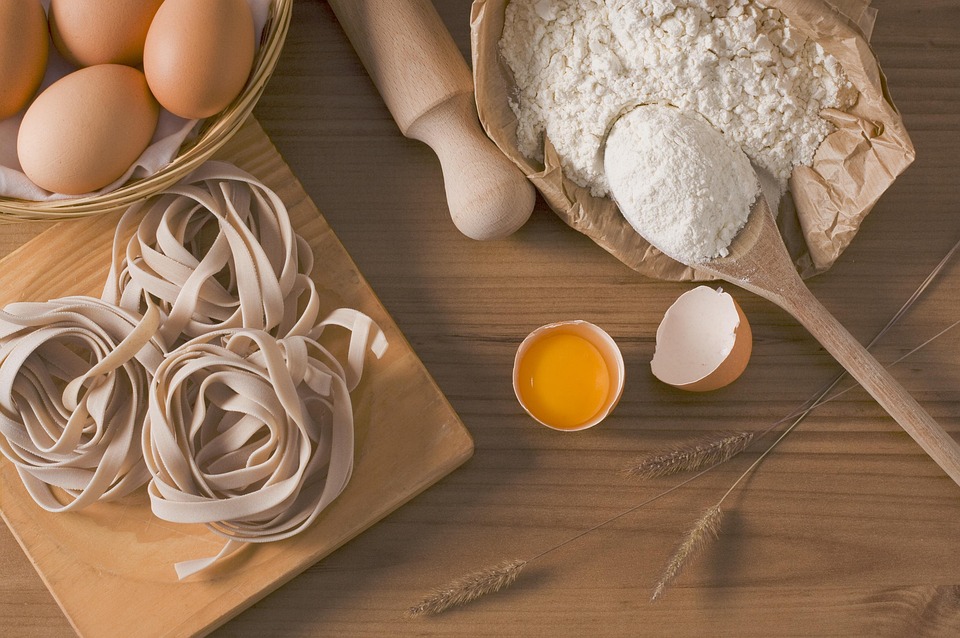
To make Ooni pizza dough, you will need the following ingredients:
- 500g (4 cups) of bread flour
- 325ml (1⅓ cups) of warm water
- 10g (2 teaspoons) of sea salt
- 5g (1 teaspoon) of sugar
- 7g (2 teaspoons) of instant yeast
- Olive oil (optional, for greasing)
Step 1: Activate the Yeast
Begin by activating the yeast. In a small bowl, combine the warm water, sugar, and instant yeast. Stir gently and let it sit for about 5-10 minutes until it becomes frothy. This step ensures that your yeast is alive and ready to help your dough rise.
Step 2: Mix the Dough
In a large mixing bowl, combine the bread flour and sea salt. Make a well in the center and pour in the activated yeast mixture. Using a wooden spoon or your hands, mix the ingredients until they come together to form a shaggy dough.
Step 3: Knead the Dough
Transfer the dough onto a lightly floured surface. Knead the dough for about 10 minutes, until it becomes smooth and elastic. If the dough is too sticky, sprinkle a little more flour as needed. Proper kneading is crucial for developing gluten, which gives your pizza its structure.
Step 4: First Rise
Once kneaded, shape the dough into a ball and place it in a lightly greased bowl. Cover the bowl with a damp cloth or plastic wrap. Let the dough rise in a warm place for about 1-2 hours, or until it has doubled in size. This fermentation process enhances the flavor and texture of your pizza dough.
Step 5: Shape the Dough
After the first rise, gently punch down the dough to release any air bubbles. Divide it into 2-4 equal portions, depending on how large you want your pizzas to be. Shape each portion into a tight ball and place them on a floured surface. Cover them with a damp cloth and let them rest for another 30 minutes.
Step 6: Preheat Your Ooni Oven
While your dough is resting, preheat your Ooni pizza oven according to the manufacturer’s instructions. A high temperature (around 450-500°C or 840-930°F) is essential for achieving that perfect crispy crust.
Step 7: Stretch the Dough
Once your dough has rested, it’s time to stretch it into pizza shape. Take one dough ball and gently flatten it with your fingers. Starting from the center, use your hands to stretch it outward, rotating as you go. Aim for a thickness of about ¼ inch, keeping the edges slightly thicker for a nice crust.
Step 8: Add Your Toppings
Now comes the fun part! Add your favorite toppings to the stretched dough. Start with a base of tomato sauce, followed by cheese and your choice of toppings. Be careful not to overload the pizza, as this can prevent it from cooking evenly.
Step 9: Cook Your Pizza
Carefully transfer your topped pizza to the preheated Ooni oven. Use a pizza peel for easy handling. Cook your pizza for about 60-90 seconds, rotating it every 30 seconds for an even cook. The high temperature of the Ooni oven will give your pizza a beautiful char and a perfectly cooked base.
Step 10: Enjoy!
Once your pizza is cooked to perfection, remove it from the oven and let it cool for a minute. Slice it up and enjoy your homemade Ooni pizza with friends and family!
Conclusion
Mastering Ooni pizza dough is a delightful journey that elevates your outdoor cooking experience. With practice, you’ll be able to create delicious pizzas that rival those from your favorite pizzeria. So gather your ingredients, fire up your Ooni oven, and enjoy the art of pizza making!
[ad_2]