[ad_1]
Perfect Your Pastry: A Step-by-Step Guide to Empanada Dough
Empanadas are a beloved dish in many cultures, known for their delicious fillings enveloped in a golden, flaky crust. The key to a perfect empanada lies in the dough. This step-by-step guide will help you master the art of making empanada dough that is both easy to handle and delightful to eat.
Ingredients You Will Need
Before you begin, gather the following ingredients:
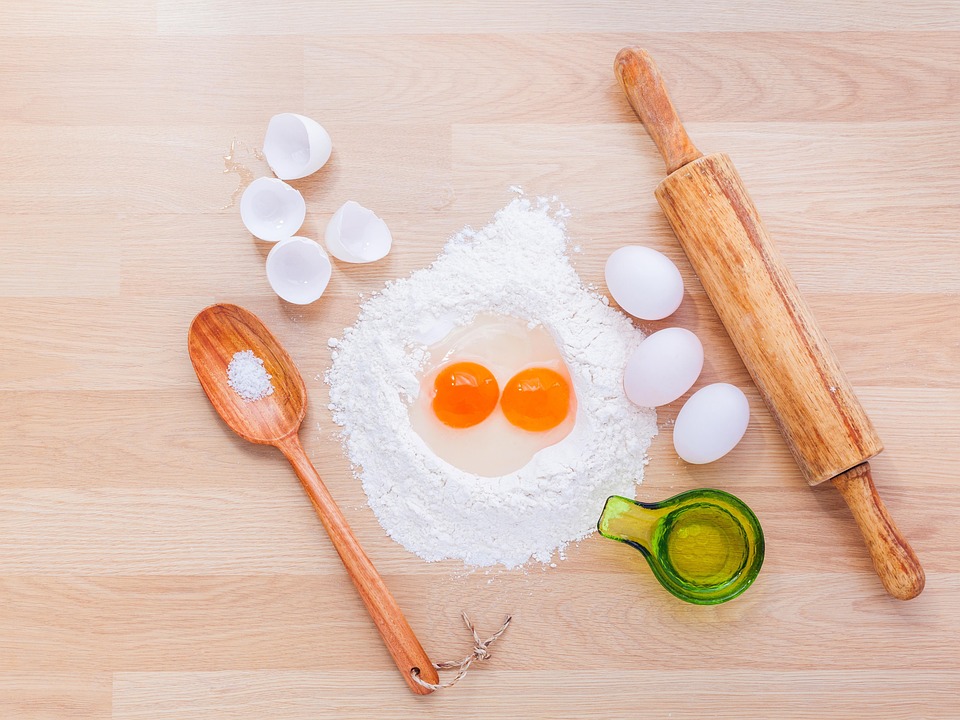
– 2 ½ cups all-purpose flour
– 1 teaspoon salt
– 1 teaspoon baking powder (optional for extra flakiness)
– ½ cup unsalted butter (cold and cubed)
– 1 large egg (beaten, for egg wash)
– ½ cup cold water (or more, as needed)
Step 1: Prepare the Dry Ingredients
In a large mixing bowl, combine the flour, salt, and baking powder. Whisk the ingredients together to ensure they are evenly mixed. This step is crucial as it prevents clumping and ensures a uniform texture in your dough.
Step 2: Incorporate the Butter
Add the cold, cubed butter to the flour mixture. Using a pastry cutter or your fingers, work the butter into the flour until the mixture resembles coarse crumbs. The key here is to keep the butter cold, as this will help create a flaky texture in the final dough.
Step 3: Add Water Gradually
Make a well in the center of the dry ingredients and pour in the cold water. Begin mixing with a fork or your hands, gradually incorporating the flour mixture into the water. Be careful not to overmix; you want the dough to come together without being too sticky.
Step 4: Knead the Dough
Once the dough is combined, transfer it to a lightly floured surface. Knead the dough gently for about 2-3 minutes until it is smooth and elastic. Be cautious not to over-knead, as this can lead to a tough crust.
Step 5: Chill the Dough
Wrap the dough in plastic wrap and refrigerate it for at least 30 minutes. Chilling the dough allows the gluten to relax, making it easier to roll out later and improving the overall texture of your empanadas.
Step 6: Roll Out the Dough
After chilling, remove the dough from the refrigerator. Divide it into smaller portions for easier handling. On a floured surface, roll out each portion into a circle about 1/8 inch thick. Use a round cutter or a bowl to ensure uniform circles, typically around 4 to 6 inches in diameter.
Step 7: Fill and Shape the Empanadas
Place a spoonful of your desired filling (be it meat, cheese, vegetables, or a sweet filling) in the center of each dough circle. Be careful not to overfill, as this can cause the empanadas to burst during cooking. Fold the dough over the filling to create a half-moon shape and press the edges to seal. For a decorative touch, crimp the edges with a fork or your fingers.
Step 8: Prepare for Baking or Frying
Preheat your oven to 375°F (190°C) if you plan to bake the empanadas. Place the filled empanadas on a baking sheet lined with parchment paper. Brush the tops with the beaten egg for a beautiful golden finish. If frying, heat oil in a deep pan to 350°F (175°C) and carefully lower the empanadas into the hot oil until golden brown on both sides.
Step 9: Enjoy Your Empanadas
Once cooked, allow your empanadas to cool slightly before serving. Enjoy them warm, paired with your favorite dipping sauce or condiment.
Final Tips for Success
– Experiment with different fillings to find your favorite combinations.
– If your dough feels too dry, add a little more cold water, a tablespoon at a time.
– If you have leftover dough, it can be frozen for future use. Just thaw it in the refrigerator before rolling it out again.
By following this step-by-step guide, you’ll be able to create empanada dough that is both delicious and versatile. With practice, you’ll perfect your pastry-making skills and enjoy delightful empanadas that impress family and friends alike. Happy cooking!
[ad_2]